I was recently introduced to Helmar Adhesives through the awesome chicks at Scrap-Tastic. It was love at first sight! Here are some projects I have created using some of their great products:
Project 1: Button Storage Bottle

What I used:
Glass bottle
Paper- Prima and Creative Memories
Rock Candy Crackle Paint from Ranger
Worn Lipstick Distress Ink from Tim Holtz
Misc. ribbon
Acrylic sealer
Border punch- Martha Stewart
Adhesive- Helmar 450 Quick Dry (works like a dream on slick surfaces like glass and plastic)
What I did:
1. Wash bottle thoroughly, removing label and old adhesive
2. Cut paper strips. Here I used one 2 1/2 inches wide and one that was 1 inch wide.
3. Punch border on thinner strip and ink edges.
4. Adhere paper with Helmar 450.
5. Cover entire bottle with crackle paint and let dry.
6. Sponge bottle in random places with ink.
7. Apply a light spray of acrylic sealer and let dry.
8. Tie ribbon around neck of bottle.
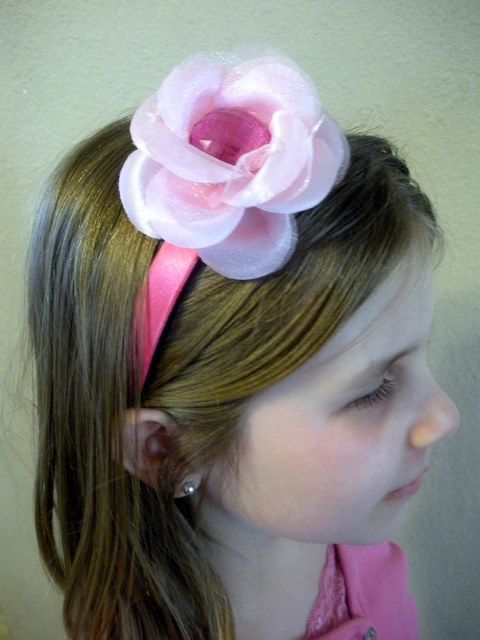
Project 2: Flower Headband

This project began life as an old headband my kids didn't wear anymore, a large plastic bead, and a broken flower pin. Here's my daughter modeling the finished product:
What I used:
old headband
bead
fabric flower
Adhesives: Helmar 450 Quick Dry and Helmar Liquid Scrap Dots
What I did:
1. Remove existing bow and residual adhesive from headband.
2. Remove center from flower.
3. Adhere large button to flower center. The flower was deep, so I needed a thick, dimensional adhesive. Scrap Dots to the rescue! Let dry.
4. Adhere flower to headband in desired location with Helmar 450 Quick Dry.
Project 3: "8 Years Old" Layout

What I used:
Paper- Mooch collection from Urban Lily (#1- Hyperactive; #2- Sugarhigh) and Bazzil cardstock
Alphas- AC Thickers and Creative Memories
Glimmer Mist- Electric Blue, Red Velvet, and Tiger Lily
Adhesives-Helmar Adhesive Runner and ZapDots
What I did:
1. Cut small circle from patterned paper #1 and spray with Glimmer Mist. Let dry.
2. Position and adhere large square of patterned paper #1 in upper left corner of base cardstock.
3. Place small circle back in original position and adhere with dimensional ZapDots.
4. Cut large circles from second patterned paper #2. Distress edges and spray with Glimmer Mist. Let dry, then adhere on page.
5. Crop and mat photos.
6. Adhere photos on page. Add dimension to one with ZapDots.
7. Adhere alpha stickers to create title.
Here are some photos that show off the dimension a little better:


Project 4: "Happy" Card

What I used:
black, white and orange cardstock
Patterned paper- Urban Cuts by Urban Lily
Tiger Lily Glimmer Mist
All About U stamps- Stampin Up
Ink- Staz On Jet Black
Slot punch from Provo Craft
Misc. ribbon
Adhesives- Helmar Adhesive Runner and ZapDots
What I did:
1. Cut black and white cardstock to size.
2. Cut out "h" from Urban Cuts Alphabet paper.
3. Adhere "h" to orange cardstock.
4. Spray white cardstock with Tiger Lily Glimmer Mist and let dry.
5. Punch 2 slots in white cardstock and thread ribbon through.
6. Adhere orange block with the "h" to the white cardstock.
7. Stamp "happy" with black ink.
8. Adhere white cardstock to the black base with ZapDots. The dimension allows for the bulk of the ribbon under the white cardstock.
I hope you enjoyed a sampling of the various uses for Helmar Adhesives. Check out their blog here. My preferred distributor is Scrap-Tastic. Friendly and speedy service!
Fabulous projects, Bekah! Good luck with the DT call! :)
ReplyDelete