Showing posts with label altered. Show all posts

Tuesday, March 15, 2011

Helmar USA Design Guest Designer Submission

I was recently introduced to Helmar Adhesives through the awesome chicks at Scrap-Tastic. It was love at first sight! Here are some projects I have created using some of their great products:

Project 1: Button Storage Bottle
What I used:
Glass bottle
Paper- Prima and Creative Memories
Rock Candy Crackle Paint from Ranger
Worn Lipstick Distress Ink from Tim Holtz
Misc. ribbon
Acrylic sealer
Border punch- Martha Stewart
Adhesive- Helmar 450 Quick Dry (works like a dream on slick surfaces like glass and plastic)

What I did:
1. Wash bottle thoroughly, removing label and old adhesive
2. Cut paper strips. Here I used one 2 1/2 inches wide and one that was 1 inch wide.
3. Punch border on thinner strip and ink edges.
4. Adhere paper with Helmar 450.
5. Cover entire bottle with crackle paint and let dry.
6. Sponge bottle in random places with ink.
7. Apply a light spray of acrylic sealer and let dry.
8. Tie ribbon around neck of bottle.

Project 2: Flower Headband
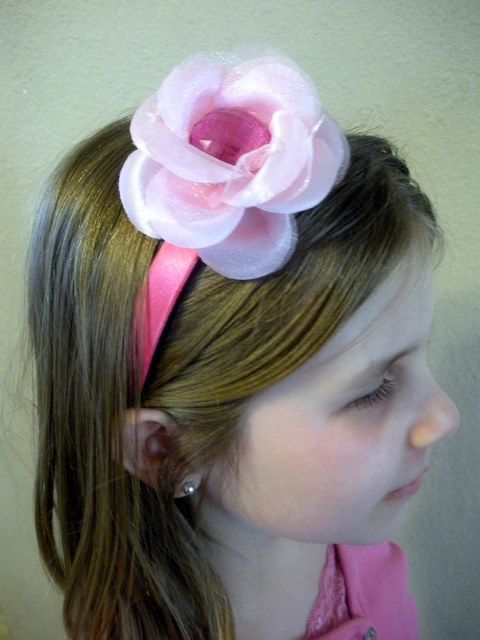
 This project began life as an old headband my kids didn't wear anymore, a large plastic bead, and a broken flower pin. Here's my daughter modeling the finished product:
What I used:
old headband
bead
fabric flower
Adhesives: Helmar 450 Quick Dry and Helmar Liquid Scrap Dots

What I did:
 1. Remove existing bow and residual adhesive from headband.
2. Remove center from flower.
3. Adhere large button to flower center. The flower was deep, so I needed a thick, dimensional adhesive. Scrap Dots to the rescue! Let dry.
4. Adhere flower to headband in desired location with Helmar 450 Quick Dry.

Project 3: "8 Years Old" Layout
 What I used:
Paper- Mooch collection from Urban Lily  (#1- Hyperactive; #2- Sugarhigh) and Bazzil cardstock
Alphas- AC Thickers and Creative Memories
Glimmer Mist- Electric Blue, Red Velvet, and Tiger Lily
Adhesives-Helmar Adhesive Runner and ZapDots

What I did:
1. Cut small circle from patterned paper #1 and spray with Glimmer Mist. Let dry.
2. Position and adhere large square of patterned paper #1 in upper left corner of base cardstock. 
3. Place small circle back in original position and adhere with dimensional ZapDots.
4. Cut large circles from second patterned paper #2. Distress edges and spray with Glimmer Mist. Let dry, then adhere on page.
5. Crop and mat photos.
6. Adhere photos on page. Add dimension to one with ZapDots.
7. Adhere alpha stickers to create title.

Here are some photos that show off the dimension a little better:


Project 4: "Happy" Card
 What I used:
black, white and orange cardstock
Patterned paper- Urban Cuts by Urban Lily
Tiger Lily Glimmer Mist
All About U stamps- Stampin Up
Ink- Staz On Jet Black
Slot punch from Provo Craft
Misc. ribbon
Adhesives- Helmar Adhesive Runner and ZapDots

What I did:
1. Cut black and white cardstock to size.
2. Cut out "h" from Urban Cuts Alphabet paper.
3. Adhere "h" to orange cardstock.
4. Spray white cardstock with Tiger Lily Glimmer Mist and let dry.
5. Punch 2 slots in white cardstock and thread ribbon through.
6. Adhere orange block with the "h" to the white cardstock.
7. Stamp "happy" with black ink.
8. Adhere white cardstock to the black base with ZapDots. The dimension allows for the bulk of the ribbon under the white cardstock.


I hope you enjoyed a sampling of the various uses for Helmar Adhesives. Check out their blog here. My preferred distributor is Scrap-Tastic. Friendly and speedy service!

Thursday, December 30, 2010

Easy Gift Card Holders

Here's a quick way to present a gift card (or any little trinket) for any occasion....

I started with an A2 envelope (sealed) and spritzed with Haunted Shadows and Pink Bubblegum Glimmer Mist. When that was dry, I went around the edges with Worn Lipstick Distress Ink.

Cut off about 1" from the  short end of the envelope. This will be the top of your holder. I stamped the large portion of the envelope with "French Script" by SU, using Staz-On ink.

Using a crimper on the larger piece "shrinks" it enough so the top will fit on nicely. After crimping I added bits and pieces from the December Daily kit I purchased from Scrap-Tastic.

Happy New Year to you and yours, and Happy Crafting!

Tuesday, November 30, 2010

Thankful For You Project

I thought I'd share one last Thanksgiving-related project as the month comes to a close. I made this little paint can as a way for us to remember the meaning of the holiday. I plan to bring it out each year, and family members can write a gratitude on small pieces of paper throughout the month and place them in the can. Then we can spend some time reading them together on Thanksgiving.


Supplies:
clear paint can
chipboard
Top Note die/ Die cut machine
Prima flowers
Glimmer Mist
Creative Memories alphas
AC Thickers alphas
Stickles
misc. ribbon

Monday, October 25, 2010

Alphabet Block Halloween Craft from Rook No. 17!

I am so excited and honored to be featured here at Reflections...on Living Creatively!  I'm grateful to Bekah for giving me the opportunity to do my very first guest post!  


Oh, now wherever shall I begin?

Perhaps introductions are in order?


I'm Jenn, and I'm the "bird" behind  the creative living blog Rook No. 17.  I draw on my experiences as a mother, chocolatier and pastry artist, teacher and lifelong crafter to share original crafts, recipes and ideas for making every day special.  I hope you'll drop by some time and say 'hi'!  You're sure to find something yummy, quirky, curious, crafty, or inspiring!  


Today I'm pleased to share with you one of the Halloween crafts I put together for my "Virtual Halloween Open House" this year.  It was inspired by my love for vintage toys and indulges my weakness for glitter!  


This A-B-C block set is an inexpensive & versatile craft that you can adapt for other holidays and purposes.  A pastel palette and some whimsical children's book illustrations would yield some charming decorations for a nursery!  If black birds aren't your bag, you can top the blocks with any sort of vintage style Halloween knickknack to suit your taste.  


HALLOWEEN ALPHABET BLOCKS


Materials:


3 2x2 Wood Blocks (purchased from craft store for approx. $1/ea)


3 Faux Crows (Dollar Tree Stores)


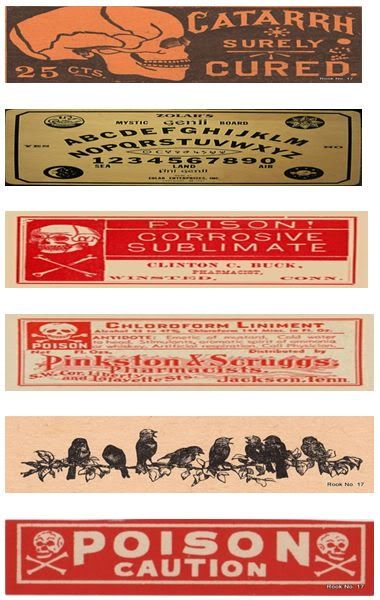
Printed Images (1.7x1.7)  ~ I've included a free download below


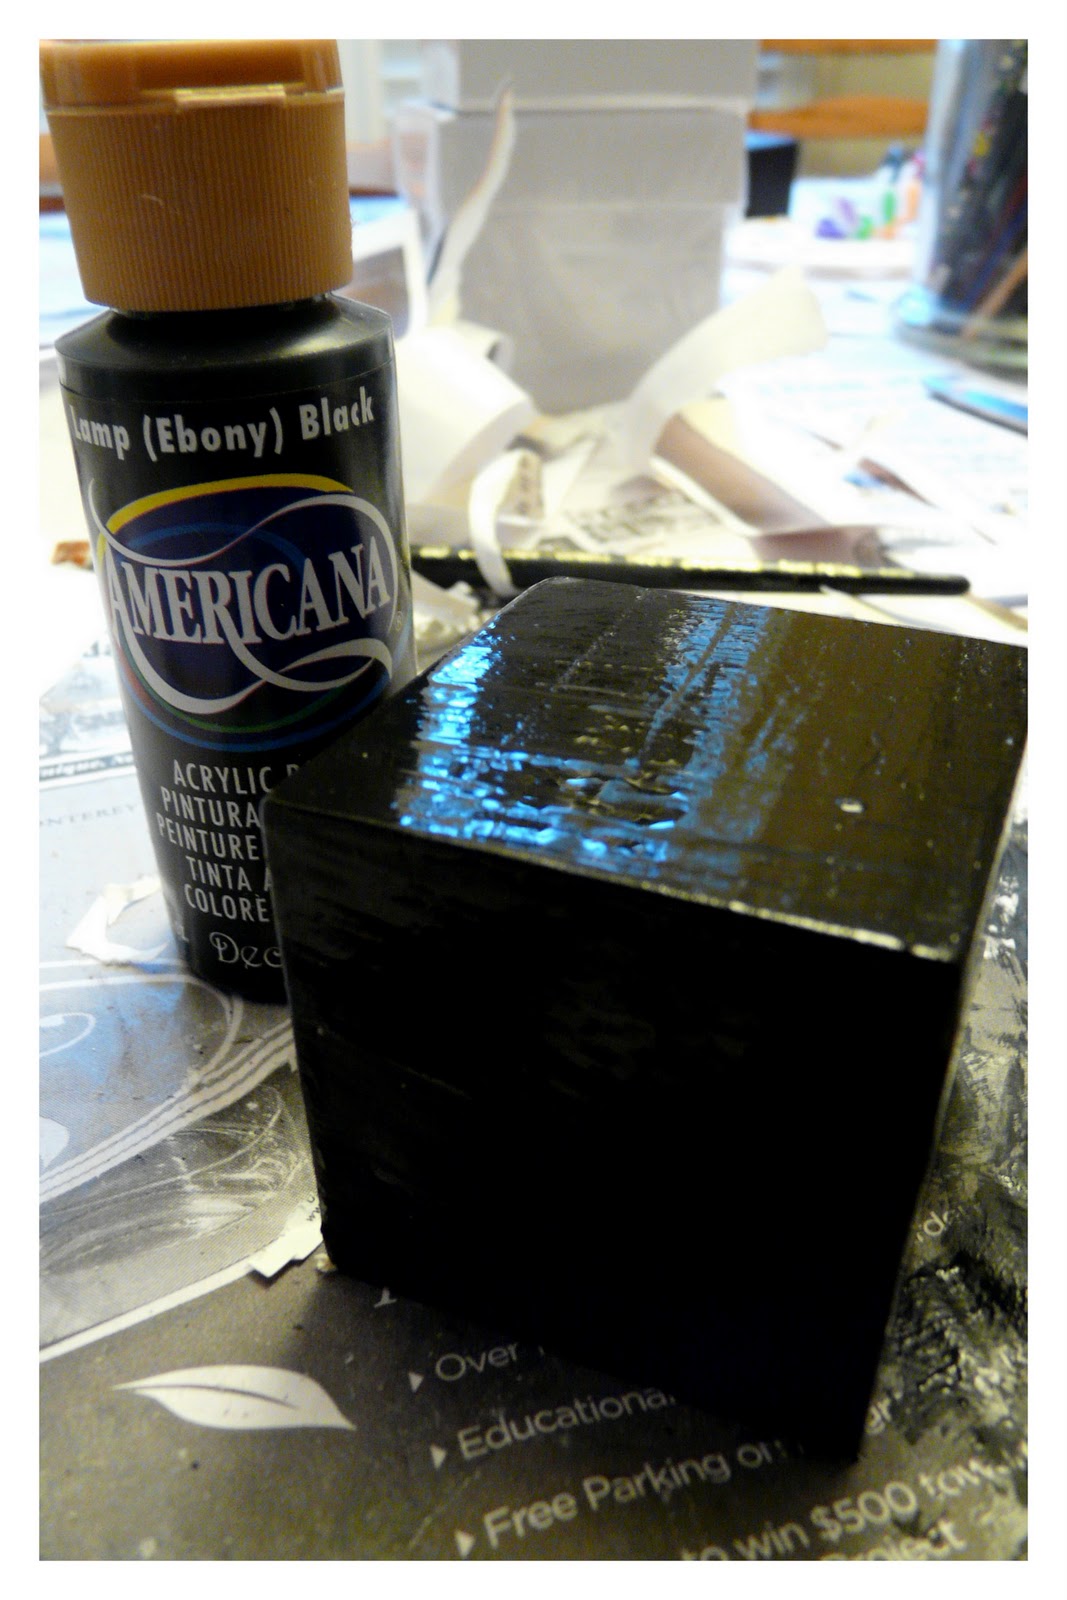
Black Paint ~ I like DecoArt Americana "Black/Ebony"


Fine Sand Paper or sanding block


Matte Mod Podge


Glitter ~ I used PK Glitz "Glitter Glitz" in Black


Wooden Spools (salvage or craft store)


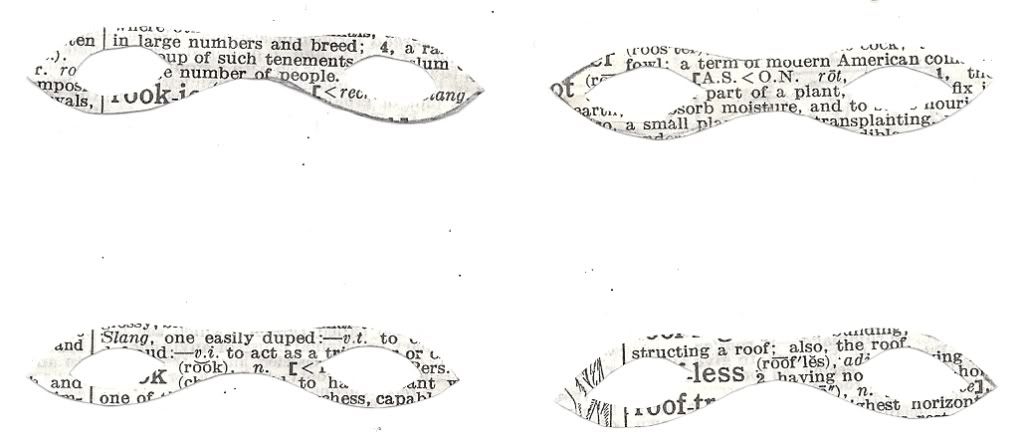
Mask download (see below)


Hat Band download (see below)


Scrap Paper or old book pages (for hat embellishment)


Hot glue gun


Step 1:  With a piece of sand paper or a sanding pad, sand block to remove any rough surfaces/edges.


Step 2:  Paint entire block.  Dry.


Step 3:  When block is dry, sand corners and edges to give an aged look.


Step 4:  Apply Mod Podge to the back of printed image (free download below).  Affix image to block.  Dry.  Repeat for all 6 sides.  You may seal the blocks if you wish.  I chose to leave mine unsealed because I felt that it was more consistent with the look of the vintage alphabet blocks I've seen in antique stores.  


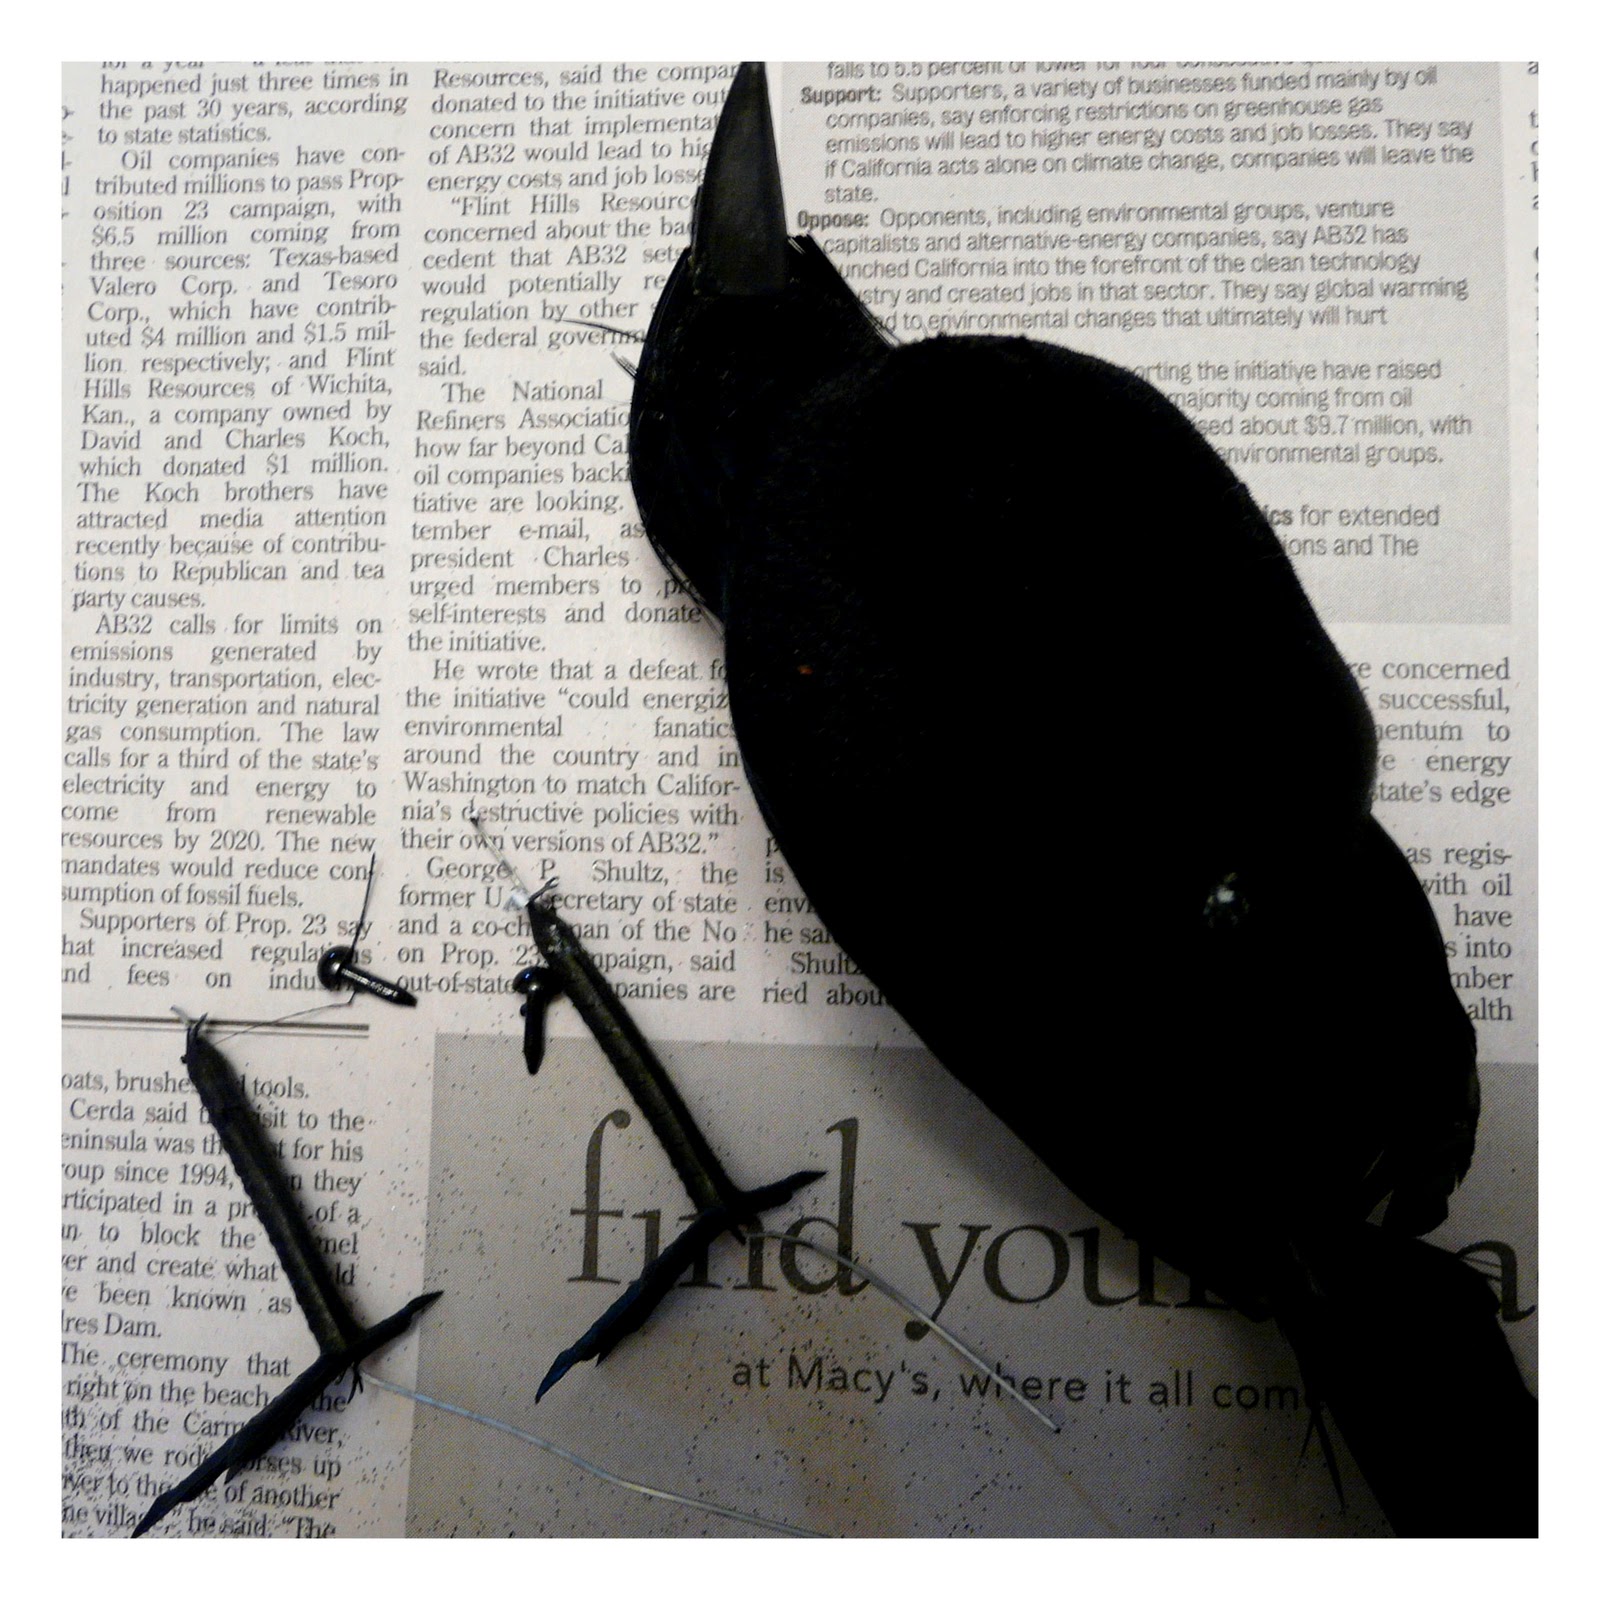
Step 5:  Remove plastic legs and eyes from the bird.  Didn't know you were going to be learning a little taxidermy today, did ya?


 Step 6:  Paint the spools black.


Step 7:  Mod Podge the back side of the printed hat bands, then wrap around spools.  Cut a small circle (a little less than the diameter of the top of the hat) out of scrap paper and affix with Mod Podge.


Vintage_Scrap_Bands.jpg Vintage Scrap Bands picture by sarahjmorriss


(Click the image above to download a printable .jpg)


Step 8:  Using a hot glue gun, affix bird to the block and hat to the bird.


Step 9:  Brush Mod Podge on to the head, back and wings of the bird (everywhere that there are feathers).  Dust with black glitter.


Step 10:  Cut out mask and attach with glue.  I did not put the plastic eyes back in.  The plastic seemed to take away from the vintage look of the piece.  


Scan_Pic0094.jpg Mini Masquerade Masks picture by sarahjmorriss


(Click the image above to get a printable jpg of the masks)


Here is a free download of images you can use for the blocks:


ABC Block Images


Enhanced by Zemanta

Thursday, June 10, 2010

Grad album with LSS


For this week's project I created a chipboard album as a graduation gift for niece. I used the Uptown Houndstooth papers from Lindsay's Stamp Stuff to add some sophistication to the otherwise vintage feel of the album. Lots of tearing and inking going on here!


Supplies:
Uptown Houndstooth paper from LSS (cranberry and brown)
vintage dictionary and music pages
Prima paper
misc. scraps
Distress Ink
Glimmer Mist
Martha Stewart border punch
ribbon, lace and buttons
Prima stamps
Pink Paislee rub-ons

Did you see that everything in Lindsay's mygrafico shop is 40% off through Saturday? What a great deal! When you're done shopping, be sure to stop by her blog for a freebie and a link to all the other DT members. Thanks for stopping by today, and have a great week!


Wednesday, April 14, 2010

Saving for a Rainy Day!

Hi everyone! I'm Bekah from Reflections...on Living Creatively. I live in Ohio in the US with my husband and two lively daughters. When I'm not working as a parent coach to families with disabled children, I can be found playing with my kids, reading, or crafting!

I'm very excited to share my bank tutorial with you here at Mummy Crafts.

 I made a bank for my daughter using a baby formula can. I have attempted to show you step by step how I created it. While this was an easy project, there is drying time between each step, so this is not super-quick.

Step 1: Choose your container and remove the label.

Step 2: Apply a thick coat of gesso. Let dry. This covers up any seams in the can and allows the surface to accept paint.

Step 3: Paint with acrylic paint of your choice. I thinned out light blue paint with just a little water.

Step 4: While the paint is still wet, remove small areas with a baby wipe to simulate clouds. Let dry.

Step 5: Select a darker shade of paint and water it down significantly. Then flick and splatter the paint randomly on your can. I created the large "drops" by loading up my paintbrush and squeezing it against the can, then letting the paint run down. Let dry.

Step 6: Print desired images on watercolor paper and paint. Cut out and adhere to can. Here I used Puddle Fun from Lindsay's Stamp Stuff.

Step 7: Adhere letter stickers.

Step 8: Fasten a label holder to the lid and cut out the center.

Step 9: Finish with a couple of coats of acrylic sealer.

I hope you enjoyed the tutorial! Please stop by and see what I have to offer... scrapbooking, book reviews, recipes, and photos!

Tuesday, October 20, 2009

Sarah's Baptism

My niece Sarah was baptised last weekend, and I made her a chipboard album for the occassion. I used products from Me & My Big Ideas, as well as scripture quotes on vellum from CM. Here is a shot of the cover, as well as a picture of the sweetie herself!


Tuesday, August 11, 2009

Altered fencepost

I think this is finished. Maybe it needs something at the top? Anyway, this little wall hanging started life as a fencepost. After cutting off the top and sanding it down, I painted it with gray and white acrylic paint. The background paper is from an old dictionary, if you look close the definition for "twinkle" is at the top! I stamped Print Pattern in VersaMark and embossed with UTEE, then went over the whole thing with Peeled Paint distress ink. It is adhered with Modge Podge. The sentiment (from Unity) was stamped in Going Gray on a scrap. I hand-cut the stars from chipboard (ok, a cereal box!) and embossed them with silver EP. Very shiny in real life, a nice contrast to the otherwise weathered look, I think. The star at the bottom is popped up with foam adhesive. Some garage-sale ribbon, and done! Please let me know what you think!

Supplies:
paper: dictionary, scraps
ink: Peeled Paint (Tim Holtz), Going Gray (SU), VersaMark
stamp: Print Pattern (SU), Birdie Inspriation (Unity)
other: UTEE, silver EP, ribbon, Modge Podge, foam adhesive
Posted by Picasa

Thursday, August 6, 2009

It's a....


Just a little peek at a project I'm working on. Can you guess what it is? It's a... fencepost!


I am going to layer it up with some paint and paper, and I think I'm going to turn it into a little wall hanging with an inspirational quote or something. I have a few more of these in the backyard, so maybe I'll do a series!


Friday, July 24, 2009

Hip Hop Hangover, 7/24

I have enjoyed the week off work, and some fun time in my craft room. Here are a couple of projects I finished up...


Front cover for a mini album I made for my neice. Below, the inside pages....

Details:
stamps- Unity (Sentiments O Simple)
paper- Target $1 bin
ink- Staz On Timber Brown
misc- chipboard coasters (Michael's $1 bin), sizzlet die, Pearl Ex, Modge Podge, acrylic paint, sandpaper, chipboard letter (Heidi Swapp), rub-ons (K & Co., American Crafts, Cosmo Cricket, ribbons, binder ring


I know I CASED this layout from someone on SCS, but as of this posting I can't find the original to give credit! (Let me know if it's you....)


Details:
stamps- Unity (May KOM and Sentiments o Simple)

ink- Staz On Brown Timber, Tim Holtz distress inks (Tattered Rose, Fired Brick, Vintage Photo, Antique Linen)

paper- HOTP, K & Co., white cs, office tag

other- Top Note Die, flower (OTC), Thickers, glitter glue, CM markers

Thanks for looking, enjoy your hangover, and have a great weekend!!