Showing posts with label guest post. Show all posts

Monday, October 25, 2010

Alphabet Block Halloween Craft from Rook No. 17!

I am so excited and honored to be featured here at Reflections...on Living Creatively!  I'm grateful to Bekah for giving me the opportunity to do my very first guest post!  


Oh, now wherever shall I begin?

Perhaps introductions are in order?


I'm Jenn, and I'm the "bird" behind  the creative living blog Rook No. 17.  I draw on my experiences as a mother, chocolatier and pastry artist, teacher and lifelong crafter to share original crafts, recipes and ideas for making every day special.  I hope you'll drop by some time and say 'hi'!  You're sure to find something yummy, quirky, curious, crafty, or inspiring!  


Today I'm pleased to share with you one of the Halloween crafts I put together for my "Virtual Halloween Open House" this year.  It was inspired by my love for vintage toys and indulges my weakness for glitter!  


This A-B-C block set is an inexpensive & versatile craft that you can adapt for other holidays and purposes.  A pastel palette and some whimsical children's book illustrations would yield some charming decorations for a nursery!  If black birds aren't your bag, you can top the blocks with any sort of vintage style Halloween knickknack to suit your taste.  


HALLOWEEN ALPHABET BLOCKS


Materials:


3 2x2 Wood Blocks (purchased from craft store for approx. $1/ea)


3 Faux Crows (Dollar Tree Stores)


Printed Images (1.7x1.7)  ~ I've included a free download below


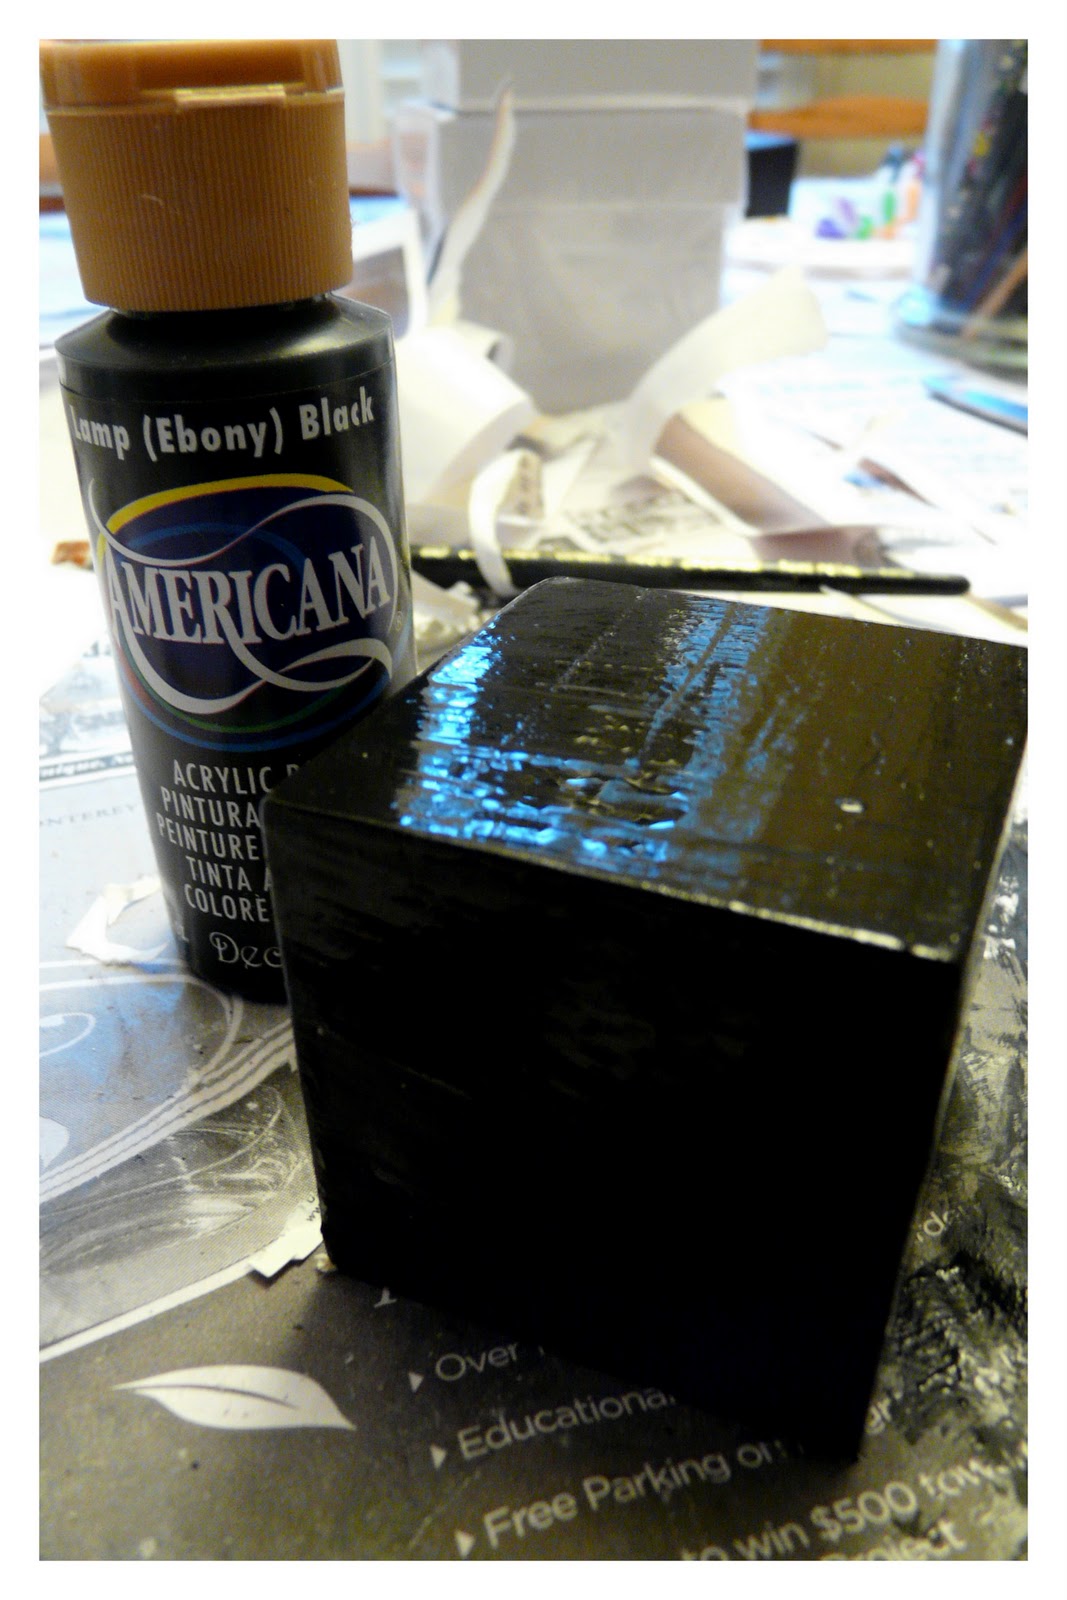
Black Paint ~ I like DecoArt Americana "Black/Ebony"


Fine Sand Paper or sanding block


Matte Mod Podge


Glitter ~ I used PK Glitz "Glitter Glitz" in Black


Wooden Spools (salvage or craft store)


Mask download (see below)


Hat Band download (see below)


Scrap Paper or old book pages (for hat embellishment)


Hot glue gun


Step 1:  With a piece of sand paper or a sanding pad, sand block to remove any rough surfaces/edges.


Step 2:  Paint entire block.  Dry.


Step 3:  When block is dry, sand corners and edges to give an aged look.


Step 4:  Apply Mod Podge to the back of printed image (free download below).  Affix image to block.  Dry.  Repeat for all 6 sides.  You may seal the blocks if you wish.  I chose to leave mine unsealed because I felt that it was more consistent with the look of the vintage alphabet blocks I've seen in antique stores.  


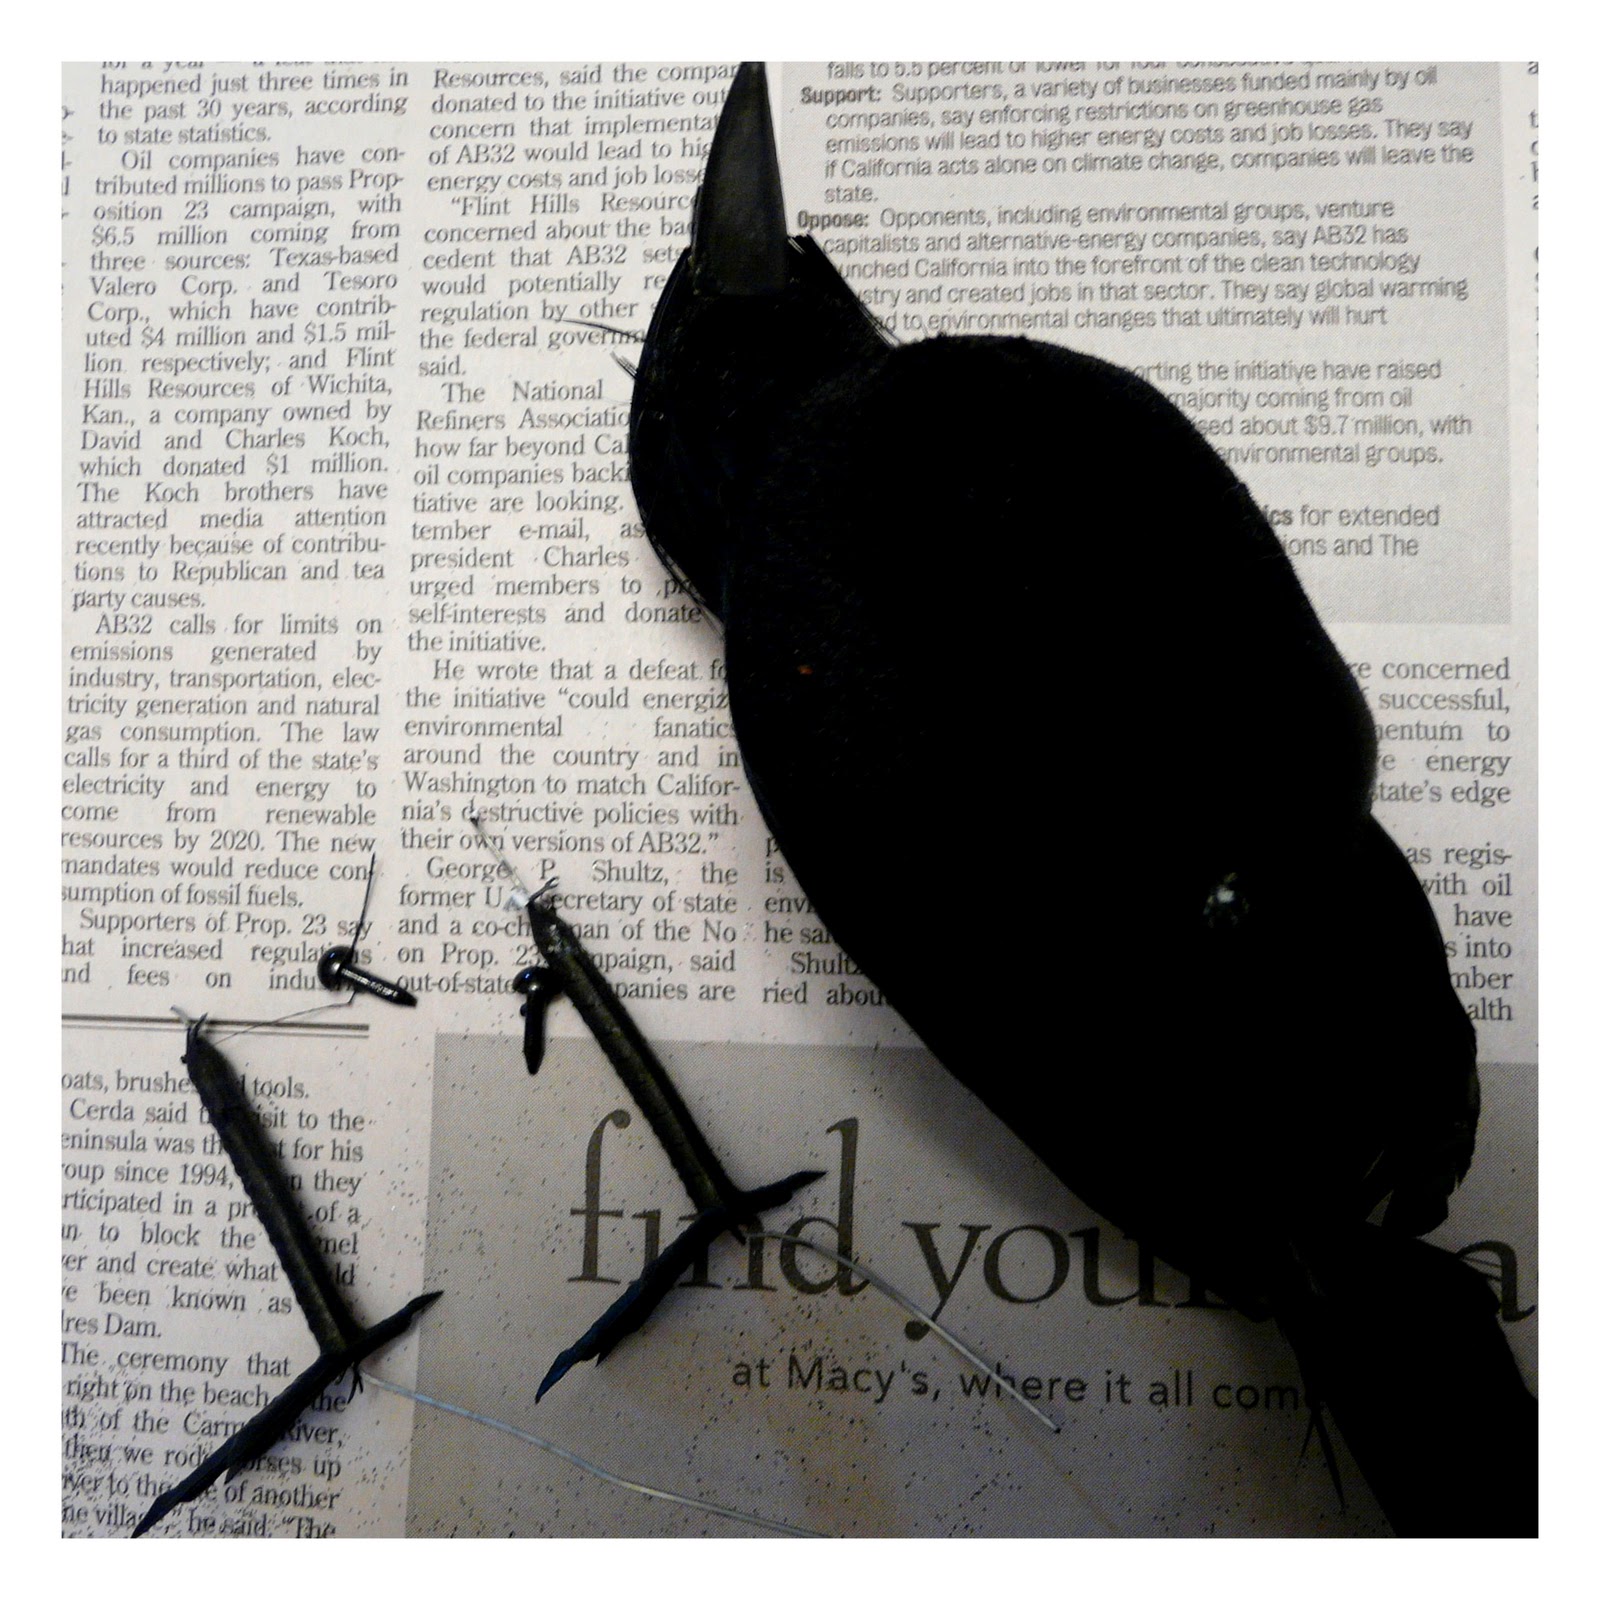
Step 5:  Remove plastic legs and eyes from the bird.  Didn't know you were going to be learning a little taxidermy today, did ya?


 Step 6:  Paint the spools black.


Step 7:  Mod Podge the back side of the printed hat bands, then wrap around spools.  Cut a small circle (a little less than the diameter of the top of the hat) out of scrap paper and affix with Mod Podge.


Vintage_Scrap_Bands.jpg Vintage Scrap Bands picture by sarahjmorriss


(Click the image above to download a printable .jpg)


Step 8:  Using a hot glue gun, affix bird to the block and hat to the bird.


Step 9:  Brush Mod Podge on to the head, back and wings of the bird (everywhere that there are feathers).  Dust with black glitter.


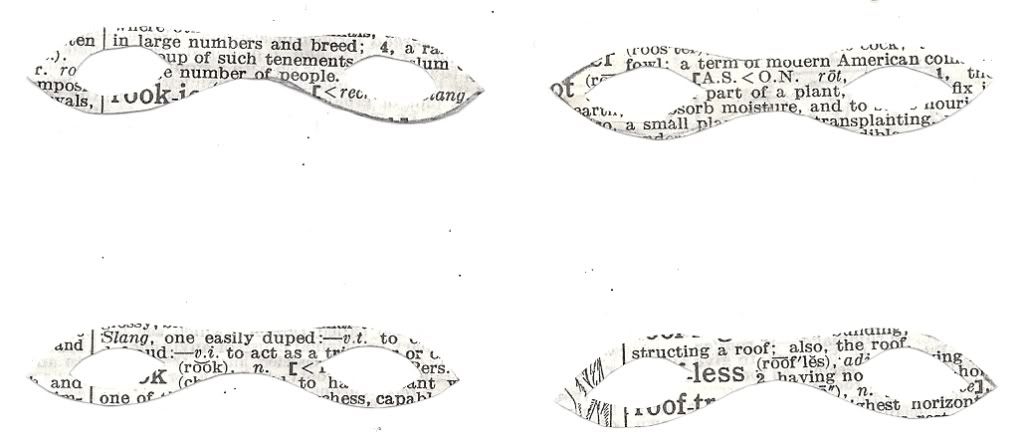
Step 10:  Cut out mask and attach with glue.  I did not put the plastic eyes back in.  The plastic seemed to take away from the vintage look of the piece.  


Scan_Pic0094.jpg Mini Masquerade Masks picture by sarahjmorriss


(Click the image above to get a printable jpg of the masks)


Here is a free download of images you can use for the blocks:


ABC Block Images


Enhanced by Zemanta

Monday, October 18, 2010

Amazing Cookies from Mummy Crafts!

Hi! I'm Crafty Mummy and I blog over at Mummy Crafts.
Thanks for letting me drop by today, Bekah!
I'm a SAHM to 2 kids and a lovely hubby in Queensland, Australia.
I love to craft - sewing, quilting, knitting, scrapbooking - anything really!
Today I'm going to share some baking with you.
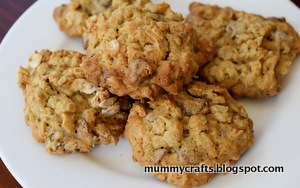
A couple of months ago I bought some homemade cookies
from my son's kindy for a fundraiser.
They were delicious!
The difference to my own recipe was the rolled oats
so I did some searching and found this recipe on Taste.com.au

Prep time: 15mins
Cooking time: 15mins
Ingredients:
  • 125g butter or margarine, at room temperature
  • 2/3 cup (135g, firmly packed) brown sugar
  • 1 tsp vanilla essence
  • 1 egg
  • 110g (3/4 cup) plain flour
  • 1/2 tsp bicarbonate of soda
  • 110g (1 1/4 cups) rolled oats
  • 140g (3/4 cup) dark Choc Bits

Method:
  1. Preheat oven to 180C and line your baking trays with baking paper
  2. Cream butter, sugar and vanilla
  3. Add egg and beat until combined
  4. Sift together the flour and bicarb, then add to creamed mixture
  5. Add choc chips and oats, and stir al that through
  6. Drop teaspoons of mixture onto your tray, about 10cm apart to allow for spreading
  7. Bake for for about 15mins or until golden
  8. Allow them to cool on the tray for 2-3 mins before transferring to a wire rack to finish cooling
  9. They'll keep for up to a week in an airtight container
Now if you want to share them with the family and friends, or donate a few to the school fete, you can see how I packaged mine up over in this post: Cookies for School
Enhanced by Zemanta

Friday, August 6, 2010

"Weekend of Fire" guest post

This past weekend, my husband, Brian, and I were kid-free and decided to checkout the “Weekend of Fire” at Jungle Jim's. We had never been there and thought this was a good reason to make the drive. If you live in Southwest Ohio, Northern Kentucky or Southeast Indiana, you probably have heard of Jungle Jim's International Market and Event Center. One weekend each summer, Greater Cincinnati is the “center of the hot sauce universe “ at this Fiery Foods Show. This year boasted up to 75 booths of hot sauces, BBQ sauces, salsas, marinades, jerkys, dips, rubs and more from all across the USA.

Being the condiment “connoisseurs” that we are, the inside door of our refrigerator displays a dozen or more bottles of various sauces, salsas, marinades, and mustards at any given time. Any dish is only as good as what it can be soaked in, brushed with or dipped in.

So, we got our tickets and off we went. The “Weekend of Fire” show is a complete consumer oriented show. The vendors encourage tasting samples of their products which are available to purchase on the spot. When we arrived, we were handed our bag and headed upstairs. They were starting one of their many hot food contests of the weekend. The Hot Cracker Eating Contest consisted of eating 15 Texas Fire Crackers the fastest. One glass of water was on the table in case of choking-you drink it, you're disqualified. I tried a cracker at the vendor's booth. It was tasty and hot! I was not able to eat more than one. Later, we watched the Hot Lolly Contest- Be the first to finish the Hot Lix Candy lollipop. Other contests held throughout the day included: Bugcicle Eating- eat a Hot Lix Insect Sucker in 10 min; Eat Hot Horseradish on 10 slices of bratwurst; PB & J using hot peanut butter and hot jelly; Hot Ice Cream (ex. Chocolate with cayenne pepper), and others.

While there were a few vendors whose goal was to see fire shoot out your ears and have you running out the door sick (Crazy Uncle Jester), most vendors claimed their products were more about flavor than heat, but, they were still hot! Ghost peppers (bhut jolokia) are the hottest in the world and there were several hot sauces and dry rubs made with them. I tried a VERY small piece of a brownie made with ghost peppers. It started out as a typical chocolate brownie, but then as any good ghost would do, the heat sneaks up on you, attacks and then haunts you for what seems like an eternity. I then realized the foresight of several people seen walking around with jugs of milk. I had to make due with the beer booth at the end of the room.

We sampled and tasted at almost every booth-not bothering to stop at the one called “Defcon”, which provided a decontamination area. We collected business cards from the ones we liked so we could remember which ones were the best and go back later to make any purchases before we left. We tried salsas, hot sauces, BBQ sauces and dips on pulled pork, blackened chicken, potato chips, tortilla chips, pretzels, and by the spoonful. Additionally, there were wasabi peas, various wasabi nuts (peanuts, cashews, almonds, etc), spicy crackers, hot suckers complete with a dead, dried scorpion inside, and fudge sauce with chili peppers. If you had something hot to offer, it was at the show.

We ended up buying more than we intended, including Jim Dandy's BBQ sauces (mild, hot and extra hot), Mudflap Jones' Cajun Kicker sauce and All Purpose Prairie Dust, The Extreme Gourmet's Southwest Chipotle seasoning mix, Lee's Hot Mustard's Cajun Seasoning, and Shudog's Sweet and Sassy Mustard Relish. Finally, although we didn't care for the Chipotle Chile Fudge sauce, the Sweet & Saucy Co. did offer a whole line of flavored fudge and caramel sauces. We couldn't agree on one, so we bought Raspberry Fudge, Cinnamon Caramel and Rum Caramel. Yum! The description on the jar is accurate, it is “so good, it's sinful”. And, yes, you will want to eat it by the spoonful right out of the jar!

We had a good time and are looking forward to next year. When you plan your next weekend activity, keep it local and find out what's going on in your own backyard. You never know what fun and interesting things you may have been missing.

Kristine is a non-blogger friend of mine who graciously agreed to write a post for me during my blogging hiatus. Check back on Monday the 9th for my re-launch!
Enhanced by Zemanta

Thursday, August 5, 2010

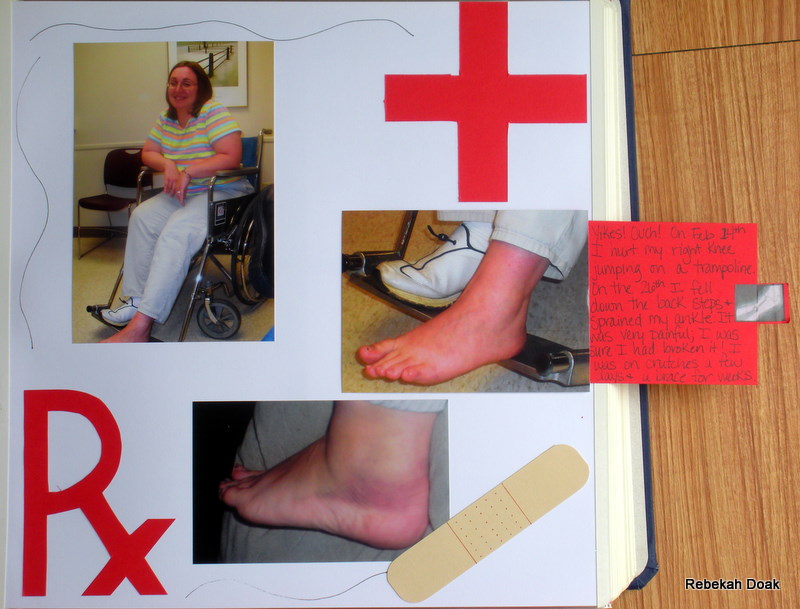
A Hidden Pocket Scrapbook Page

This post is being featured during "Pocket Week" at  Expect Moore! I have loved all the projects this week, and today I am going to show you how to create a hidden pocket for pull-out journaling on a scrapbook page.


There are many good reasons to include a pocket on your layout. They are great for holding keepsakes that you either can't or don't want to adhere. They are convenient for  holding larger items, such as a brochure or menu. You can also use them to hide your journaling when you want to keep it a bit private, or it interferes with your design.

Once you have decided that you want to use a pocket, then you need to decide what kind! The options are vast. A slash pocket is quick and easy and can be attached to your page with brads, stitching, or regular adhesive.  There are also tons of cute pockets that you can purchase ready-made, such as coin envelopes, library card holders, and clear pockets.

So let's get to the good stuff! Here is how I created the pocket for the above page...

1. First, decide how big you need your journaling block to be. It may help to write everything out on a scrap piece of paper first. Cut cardstock to this size, leaving tabs at one end. This end will stay secured in your pocket. (see photo below)

2. The cardstock you cut for your pocket will be as wide as your journaling block and twice as long. In the example below, my journaling block is 3x4", so I cut cardstock 3x8" for the pocket. Fold this in half.

Enhanced by Zemanta

Wednesday, August 4, 2010

Poetry from a Guest Blogger!


Today's guest blogger is my friend, the Bug. From her blog, she describes herself thus: "Born in the south, transplanted to the midwest, married, no kids, in my 40s (when did THAT happen?). I wish I could WRITE, but all I can do is write (and be a legal assistant in my spare time). So I'll use this space to share bad poetry & mystical meanderings."

She is a talented writer who enjoys participating in memes. This poem was originally posted on her blog, A Bug's Eye View, on June 28th.


I do a weekly poetry meme called the Poetry Bus. This particualr week's Poetry Bus driver was the very talented Don't Feed the Pixies. He set us all the task of rehabilitating road (or any other) signs that were just lounging about doing nothing. We could either:
1) Follow the sign and write something we saw at the other end
2) Merely imagine what might be at the other end and write about that
3) Find a new use for the word on the sign to explain something that currently has no word


So Dr. M and I took a ramble today in the Bugly & found ourselves out in the Ohio countryside. We traveled down this road:


And found this sign:


Just in case you can't see, it says, "Ho STOP 4 $20"


Whereupon I chose Option 2 and wrote this poem:


Love in the Cornfields


It's not an easy life

Love in the cornfields

Love on the plow

Love for a Jackson


It's not an easy life

Corn fed Ohio boys

Always want a deal –

Hamilton and Lincoln


It's not an easy life

Cows to be milked

I just want a little

Spending money on the side


It's not an easy life

Love in the cornfields

But sometimes

We go for ice cream after


If you enjoy writing-related memes, I highly suggest visiting the Bug's blog. Leave her some love and tell her that Bekah sent you!

Don't forget I am doing a guest post at Expect Moore tomorrow!

Friday, July 30, 2010

Blog Relaunch Announcement!!

I have been working hard doing the 31 Days to Build a Better Blog Challenge, and am making some changes to my blog. I am following along with the SITS girls and BlogFrog community to share the experience with other women bloggers. What a blast!

Stay tuned for my blog re-launch on Monday, August 9th! Look for a new tagline and organizational structure, new content themes, and a more consistent posting schedule. I am very excited and can't wait to get your input!

Wednesday, July 28, 2010

You Go Girl!

Today I'm sharing my last project for Linday's Stamp Stuff. I want to thank Lindsay and all the design team girls for being so encouraging and supportive. It's been great!

Today I am using It's a Girl Thing. So, so cute.


I am also using Mojo Monday sketch 149. So, so cute.


Be sure to visit Lindsay's blog for a link to the other design team members and this week's freebie!

Check out Expect Moore next week- a week's worth of Pocket Projects! I am doing a guest post on Thursday showing how to use a hidden pocket on a scrapbook page for pull-out journaling!