Showing posts with label Halloween. Show all posts

Wednesday, September 19, 2012

Fall is in the air...

Can you feel it?

I love all the sensory experiences of fall...

crunching leaves
Pumpkin Spice lattes
football games
bonfires and S'mores
crisp air and sweaters
 
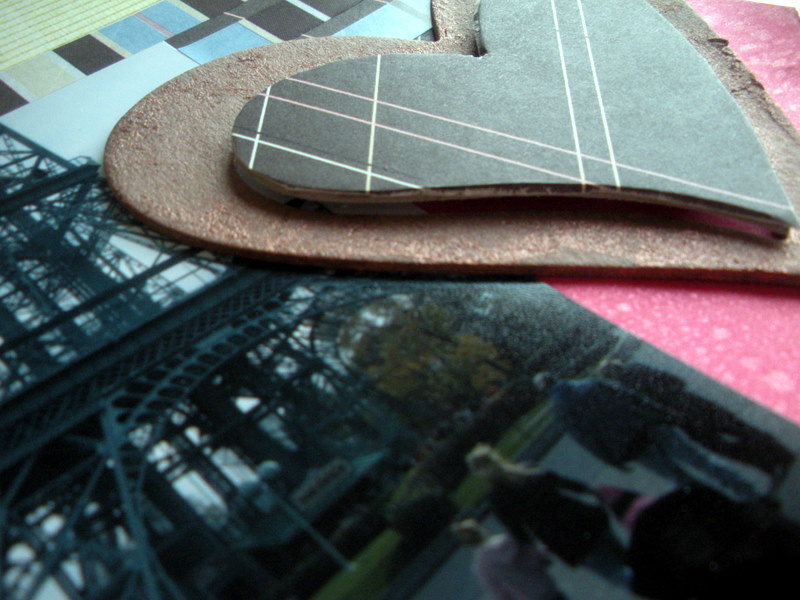
I also love Halloween. I'm finally getting last fall's photos into scrapbooks. Here are the girls' pumpkins from 2011.

 
Supplies:
Paper- Me and My Big Ideas, misc
Stickers- Creative Memories; Martha Stewart
Alphas- Basic Grey; Scenic Route
Other- Stickles

Sunday, September 25, 2011

Project 365: Week 38

Sunday- Morgan having a tea party after dinner at my grandparents'.

Monday- The girls couldn't wait to start decorating. These cute little guys hang out in the bathroom.

Tuesday- The dreaded task of switching the seasonal clothes.

Wednesday- The girls' favorite! Not mine- he dances and sings (loudly).

Thursday- Ready for the school skating party!

Friday- Had enough energy today to make a mess at my craft table!

Saturday- Morning cartoon zoning!

Tuesday, February 1, 2011

Stylish Halloween- A Layout

My last Halloween layout, I promise!
Didn't all the girls look stylish?
 Papers by Pink Paislee and My Mind's Eye
 Sweet Clover Glimmer Mist, Pink Paislee rub-on, and Kaiser rhinestones make up the title
 Edging the photos in Whisper White craft ink from SU adds definition
I used Black Soot Distress Ink to tone down the look of the green patterned paper. Small alphas by Making Memories.

This sketch (#262)from Splitcoast Stampers was my inspiration! And my supplies came from Scrap-Tastic, of course!

Monday, January 17, 2011

Hallofest- A Layout

I'm still catching up on scrapping events from 2010. Our Halloween trip to Kings Island (an amusement park) was fun and full of dancing, mazes and goodies. I used the March guest DT sketch from Magistical Memories.


Supplies:
Paper- Prima and Creative Memories
Alpha Stickers- Creative Memories
Chipboard- Fancy Pants
Glimmer Mist by Tattered Angels- Coffee Shop and Bubblegum


Sunday, November 7, 2010

Project 365: Week 45 (ish)

My daily photo taking has been reduced to a once-in-a-while event. I have been inspired by those of you who have persevered, and promise to do better for the remainder of the year! Here are some photos I did manage to take over the past couple of weeks....

Math night at school- here Vivian is measuring the weight of a small pumpkin.

Bi-annual Girls Weekend. It was really nice outside so we took the festivities onto the hotel patio.

Spent a few hours at Trader's World flea market. Lots of good stuff!

Three witches and a...butterfly. My girls, my niece, and a neighbor had tons of fun trick-or-treating together!

This train set has not been played with in probably close to a year. This week it has been out every day!

We see where Vivian's loyalties lie. Herself and grandma. Go figure.

So I hope this is enough to get me back in the 365 "club". I'll be seeing you next week, promise!

Monday, October 25, 2010

Alphabet Block Halloween Craft from Rook No. 17!

I am so excited and honored to be featured here at Reflections...on Living Creatively!  I'm grateful to Bekah for giving me the opportunity to do my very first guest post!  


Oh, now wherever shall I begin?

Perhaps introductions are in order?


I'm Jenn, and I'm the "bird" behind  the creative living blog Rook No. 17.  I draw on my experiences as a mother, chocolatier and pastry artist, teacher and lifelong crafter to share original crafts, recipes and ideas for making every day special.  I hope you'll drop by some time and say 'hi'!  You're sure to find something yummy, quirky, curious, crafty, or inspiring!  


Today I'm pleased to share with you one of the Halloween crafts I put together for my "Virtual Halloween Open House" this year.  It was inspired by my love for vintage toys and indulges my weakness for glitter!  


This A-B-C block set is an inexpensive & versatile craft that you can adapt for other holidays and purposes.  A pastel palette and some whimsical children's book illustrations would yield some charming decorations for a nursery!  If black birds aren't your bag, you can top the blocks with any sort of vintage style Halloween knickknack to suit your taste.  


HALLOWEEN ALPHABET BLOCKS


Materials:


3 2x2 Wood Blocks (purchased from craft store for approx. $1/ea)


3 Faux Crows (Dollar Tree Stores)


Printed Images (1.7x1.7)  ~ I've included a free download below


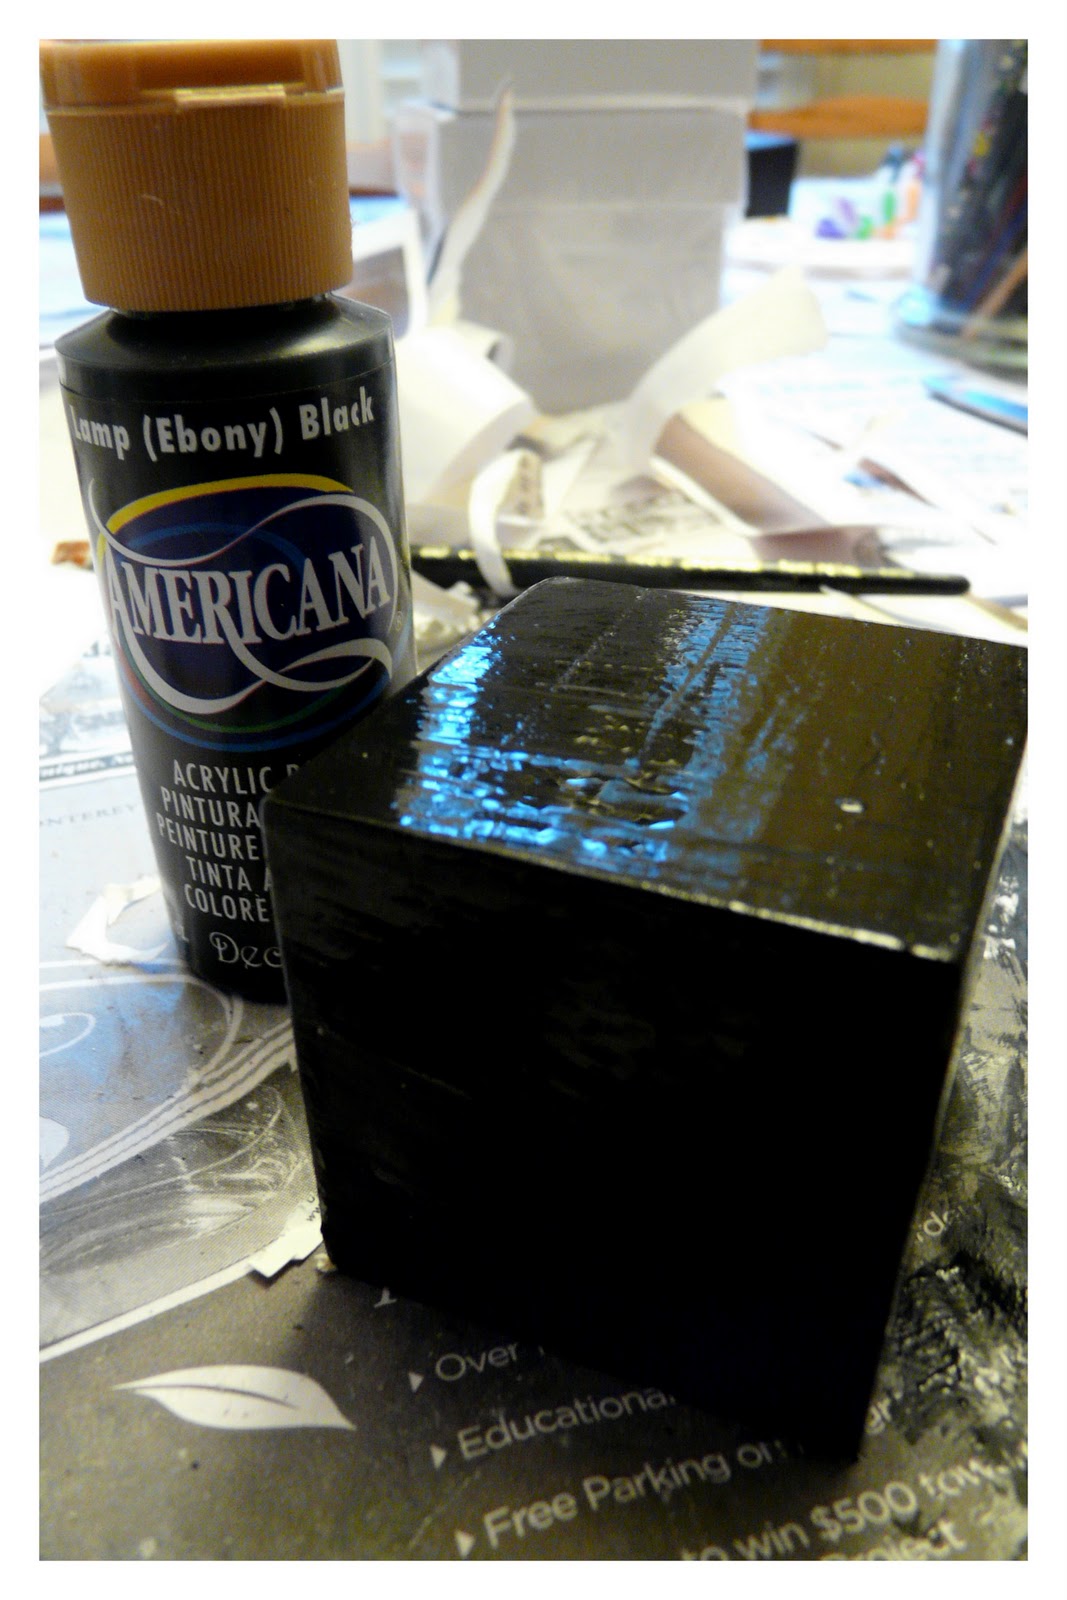
Black Paint ~ I like DecoArt Americana "Black/Ebony"


Fine Sand Paper or sanding block


Matte Mod Podge


Glitter ~ I used PK Glitz "Glitter Glitz" in Black


Wooden Spools (salvage or craft store)


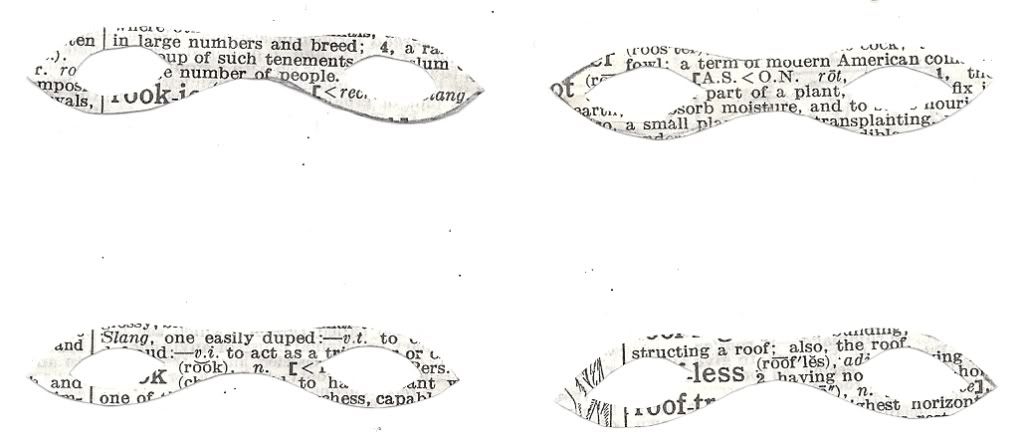
Mask download (see below)


Hat Band download (see below)


Scrap Paper or old book pages (for hat embellishment)


Hot glue gun


Step 1:  With a piece of sand paper or a sanding pad, sand block to remove any rough surfaces/edges.


Step 2:  Paint entire block.  Dry.


Step 3:  When block is dry, sand corners and edges to give an aged look.


Step 4:  Apply Mod Podge to the back of printed image (free download below).  Affix image to block.  Dry.  Repeat for all 6 sides.  You may seal the blocks if you wish.  I chose to leave mine unsealed because I felt that it was more consistent with the look of the vintage alphabet blocks I've seen in antique stores.  


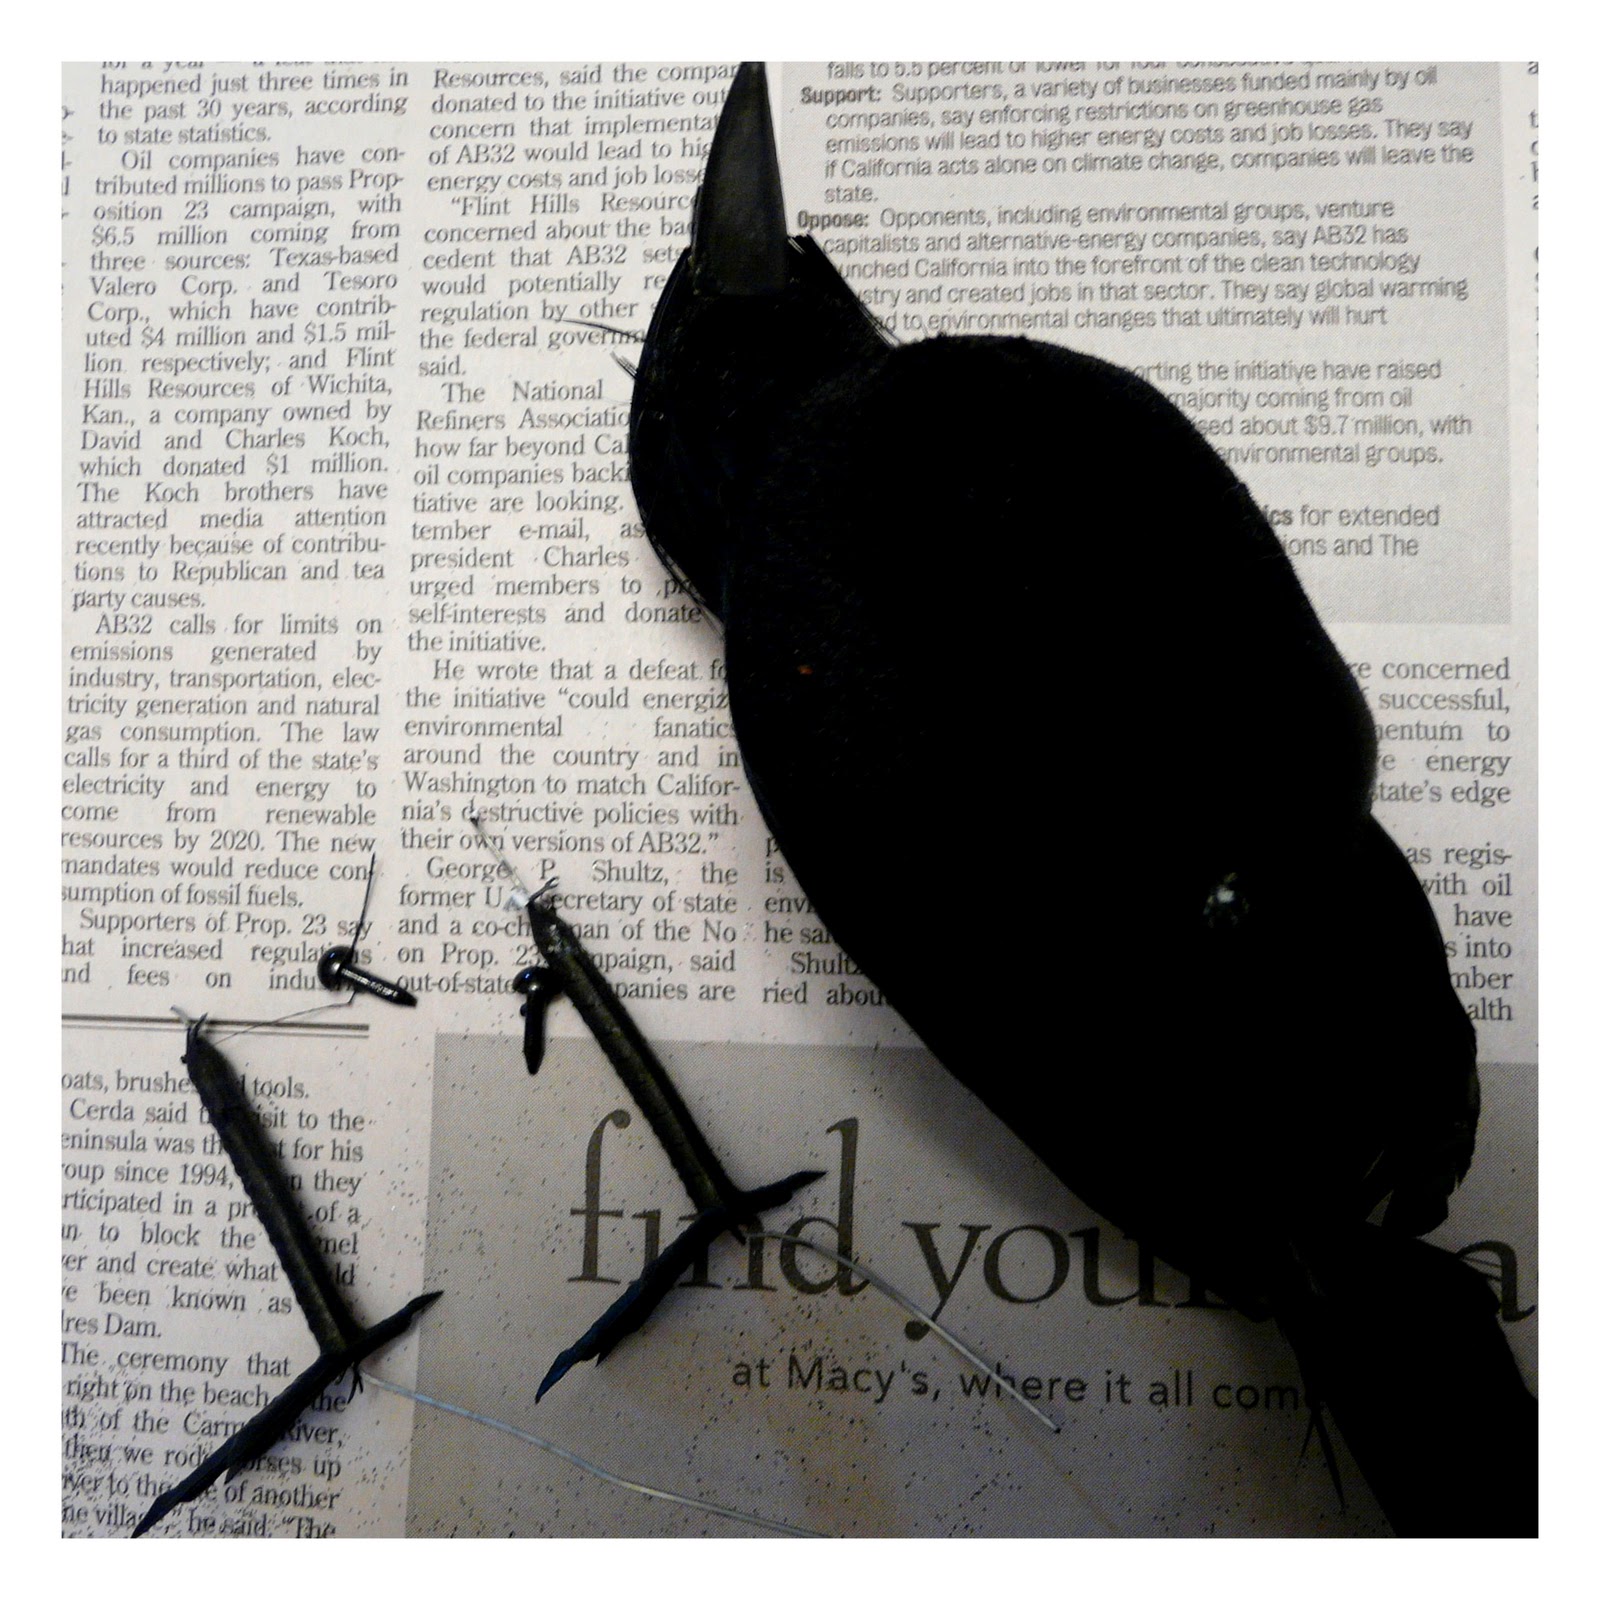
Step 5:  Remove plastic legs and eyes from the bird.  Didn't know you were going to be learning a little taxidermy today, did ya?


 Step 6:  Paint the spools black.


Step 7:  Mod Podge the back side of the printed hat bands, then wrap around spools.  Cut a small circle (a little less than the diameter of the top of the hat) out of scrap paper and affix with Mod Podge.


Vintage_Scrap_Bands.jpg Vintage Scrap Bands picture by sarahjmorriss


(Click the image above to download a printable .jpg)


Step 8:  Using a hot glue gun, affix bird to the block and hat to the bird.


Step 9:  Brush Mod Podge on to the head, back and wings of the bird (everywhere that there are feathers).  Dust with black glitter.


Step 10:  Cut out mask and attach with glue.  I did not put the plastic eyes back in.  The plastic seemed to take away from the vintage look of the piece.  


Scan_Pic0094.jpg Mini Masquerade Masks picture by sarahjmorriss


(Click the image above to get a printable jpg of the masks)


Here is a free download of images you can use for the blocks:


ABC Block Images


Enhanced by Zemanta